Integrating Bryntum Scheduler with Angular

The Bryntum Scheduler is written in plain JavaScript, it is not based on any framework. This means it can be used with any Angular version and ships (starting with upcoming version 1.0.3) with demos for Angular 1, 2, 4, 5 and 6. This blog post describes how to integrate it with Angular 6, but also includes some hints for earlier Angular versions.


Scheduler as an Angular component
The Angular demo included with Scheduler contains a SchedulerComponent, an Angular directive that uses the Scheduler as its engine. In this post we will outline the steps needed to add it to your project and also take a look at how to use it. To see the full demo in action, visit /products/scheduler/examples/angular.

Adding the component to your project
To add the component to your project:
- Copy
scheduler.component.tsfrom/examples/angular/src/app/schedulerto your project. - Copy
scheduler.module.jsand the css for the theme you want to use from/buildto yourassetsfolder.- Another option is to have angular-cli copy it for you, by adding a glob to the
assetssection of yourangular.json. Something like this (adjust the input path to match your setup):{ "glob": "**/*", "input": "../scheduler/build", "output": "/assets" }
- Another option is to have angular-cli copy it for you, by adding a glob to the
- Tell TypeScript where it can find
scheduler.module.jsby adding to “paths” under “compilerOptions” in tsconfig.app.json (adjust the path to where you have the file):"paths": { "scheduler" : ["../scheduler/build/scheduler.module.js"] } - Import the component where you want to use it:
import {SchedulerComponent} from "./scheduler.component";
Using the component
After importing SchedulerComponent you can use the <scheduler>-tag to create a scheduler. It supports many of the configuration options available for Scheduler as attributes/properties. A basic example, in your html template:
<scheduler
    #scheduler
    [rowHeight]=60
    [events]="events"
    [resources]="resources"
    [startDate]="startDate"
    [endDate]="endDate"
  ></scheduler>
And the corresponding code in your .ts file:
export class YourComponent {
  @ViewChild(SchedulerComponent) scheduler: SchedulerComponent;

  events = [
    { id : 1, name : 'First event', startDate : new Date(2018, 8, 27), duration : 1 },
    ...
  ];

  resources = [
    { id : 1, name : 'First resource' },
    ...
  ];

  startDate = new Date(2018, 1, 7, 8);
  endDate = new Date(2018, 1, 7, 18);
}
Accessing the engine
While the SchedulerComponent wraps scheduler configuration and basic event handling you will need to access the underlying engine to harness its full power. It is available as a property of the component, called schedulerEngine. A small example how to use the engine to access the resource store and add a resource:
// Since our class declaration above contained a ViewChild for the component
// we can access it using that
scheduler.schedulerEngine.resourceStore.add({ name : 'New resource' });
Other Angular versions
Here we have compiled some hints for users of other Angular versions:
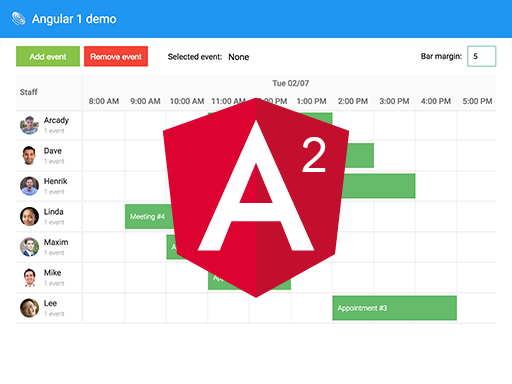
Angular 1
Since Angular 1 is very different from the more recent versions of Angular (2 and above) this post is not directly applicable to it. But fear not, Scheduler ships with an Angular 1 demo and a small scheduler directive to get you started.
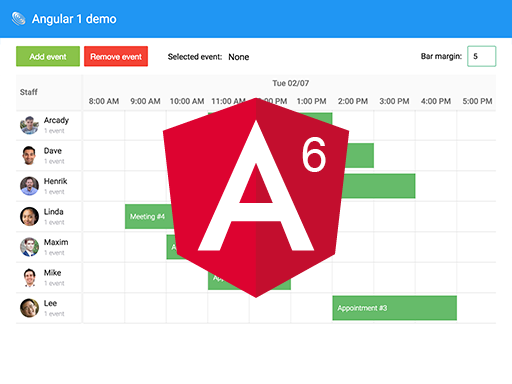
Angular 2-5
Angular versions starting from version 2 (2, 4 and 5) are very similar to Angular 6. The information above applies to those versions also, with the exception of the glob copying of assets which might not be available depending on your angular-cli version.
Learn more
The best way to learn more about the SchedulerComponent is to examine its source and the demos. If you have not already, please download our trial version and check it out.
Feel free to extend the SchedulerComponent with what you need, and please also share your thoughts on our forum. It will be extended according to popular demand, but remember that you can always access the underlying engine if a feature or config is not exposed directly.
Summing up
Bryntum Scheduler works with any version of Angular. It ships with demos for all major versions and a SchedulerComponent that you can use in your project. Although the component does not wrap all functionality in Scheduler, you can always access the engine to get what you need.
Good luck!
Download Free Trial